Sunday, February 24, 2013

Dolls

A long time ago, I made a little doll version of myself out of felt, and another of my sister. My sister has the one of her, and she loves it very much. My Emily doll has a mean face on, because I was feeling mean when I made her. You can refer back to the blog from March 2, 2010 if you're really interested in her inception, and then let's all marvel at how long I've stuck with this blog despite the ups and downs and long periods of neglect. 
Speaking of long commitments that are both gratifying and fulfilling, I decided to make a little doll of my love, to join join little Emily doll. We'll call him Tobi. For a while I put off making a Tobi doll, because I thought Real Tobi would find it unsettling and voodoo-esque, but then I decided I didn't mind. 

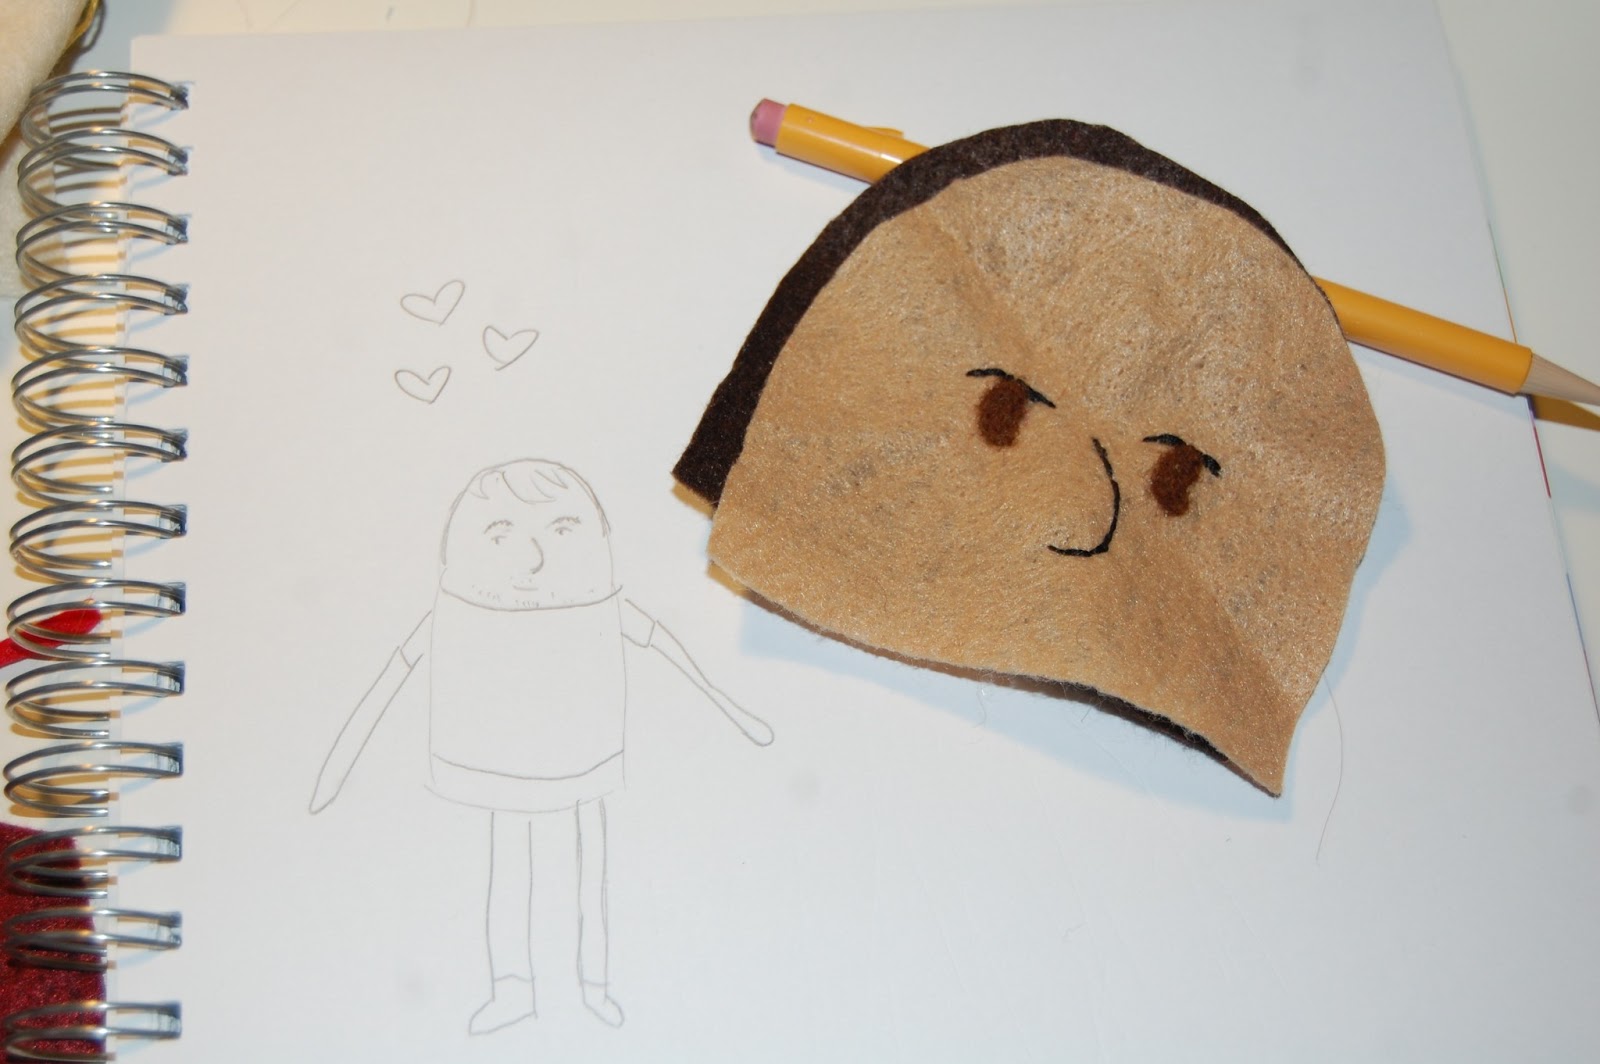
First I did a little Tobi doodle, to make sure I had a good feel for his facial features. Then I cut out the pieces of his arms, legs, body and face. I worked on the face first.
He kind of has these Doug Funnie features, which I think I did a pretty good job bringing to life on the felt.
I only had a brown piece for the back of his head, but he has black hair, so I needlefelted a layer of black over the brown.
Next I sewed the two parts of the body together, as well as the arms and legs.

As you can see, I pretty much took strips of felt and folded them in half, sewed, and then turned right-side-out. I gave him a baby blue T-shirt, some felty pants (American Apparel Slim Slacks, duh), and little black boots.
    Another golden rule of softies is that pose-ability is awesome, so I put pipe cleaners in his appendages, just as I'd done with Emily doll.
The trick with this type of doll is to put the two body/face pieces together right-sides-in, and then put all the appendages inside with just a bit of end sticking out. You leave a hole, of course, to pull it all through. I left the hole in the crotch.
 Hahah! 
Ta da! This is Tobi doll after much pulling and adjusting. Second to last step was stuffing him full of batting. Last step is crazy stitching his crotch closed, and post-last step is bending him into a come hither pose.
I think his head is a little wonky, but I love him all the same. I like the doll OK too. HEY YO!
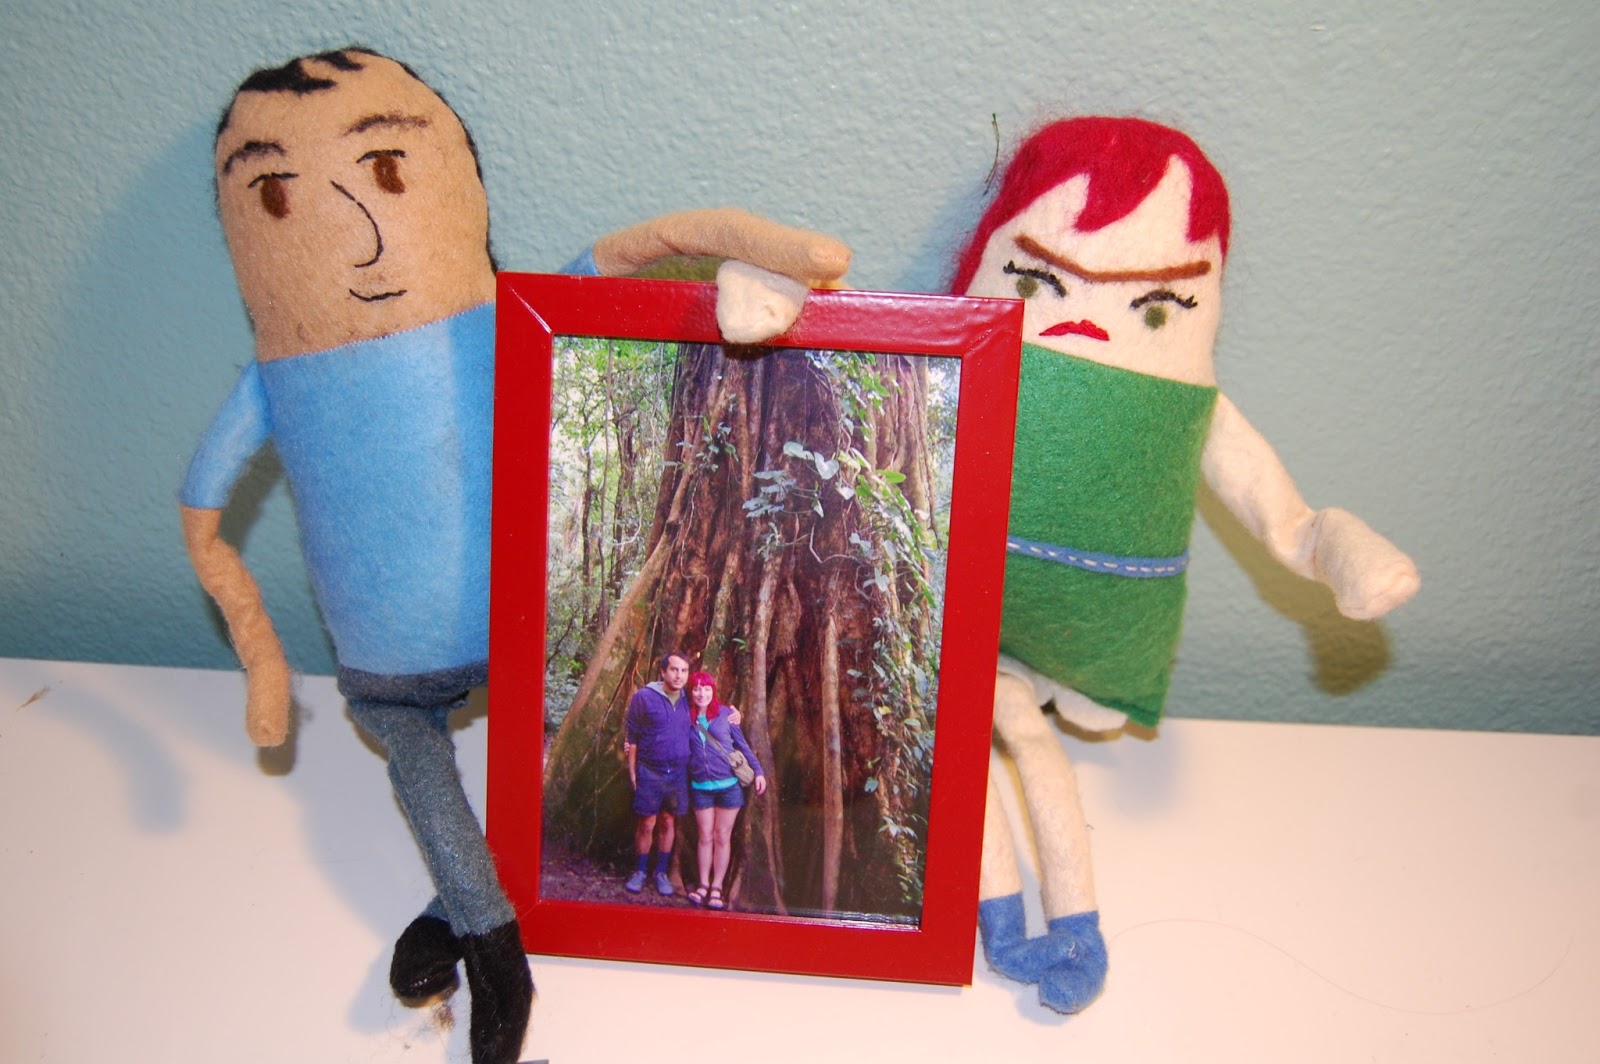
This is a photo of Tobi doll and Emily doll standing next to a photo of Real Tobi and Real Emily standing by a strangler fig in Costa Rica, October 2009. The only thing is that Emily doll's face is all wrong now that she has Tobi doll by her side.
Not a problem. Presto--love is all you need, people!


Wednesday, February 20, 2013

Sweet Zoo: A Scribble Softie


There’s this awesome song my dad played a lot for my sister and me when we were growing up. Well, there are a lot of awesome songs he’d play actually. Like the soundtracks to Willow and Fiddler on the Roof, and then songs like “Graceland” or “That’s Just the Way It Is.” There was also a surprising amount of Enya.

But the song that was stuck in my head as I haphazardly sewed and felted and stitched last night’s project was not the masterpiece “Orinoco Flow.” No, it’s a song I just looked up and found is called “Sweet Zoo” by Barbara Streisand, which tells the tale of a childlike dream of becoming various animals. At one point in the song, she turns into an “alligator / Crocodile? / No, alligator! / With a great big mouth / and four very funny little legs / which are no good for dancing.”

This is what I think of as a “scribble softie.” It’s like a sketch on a drawing pad, but 3D. It’s not perfect, just like a doodle, but maybe one day I’ll expand upon this sketch and make something a little more perfect. That’s not to say I don’t love my little mistake-ridden gator croc, because I most certainly do, just like all my misfit softies.  

Here is a tutorial, though I don’t know how much I can recommend this project to the average crafter. I messed up a lot and had to deal with a lot of little issues creatively, but I created the issues to begin with by not properly thinking it through. My brain doesn’t always work.   

I only had one piece of the green I liked, so I couldn’t put the tail on both pieces. No worries, I thought. I’ll just cut out a huge tail piece on one side that I can fold around later. 
                                      
Then I needlefelted some eyes, nostrils and some dots down his spine. One way to give a little more life to big black eyes is to embroider a little white dot in each eye. I did that, and then I gave him two little finger lines on each foot. 
Then I did the tail thing. I just folded it over right-side-in, and sewed. 
I wanted it to have a mouth that would open, so I cut off the green part of the lower jaw on the bottom piece, and sewed on a red piece, with plans to stitch on another green piece underneath it later. I should have done it before putting the top and bottom body pieces together, but I didn't. 

The "little legs" lyric is particularly apropos in this project, because when I randomly decided to create a little softie alligator crocodile (much like Barbara, I’m just not sure), I disregarded one of the golden rules of softie-making, which is that all appendages need to be nice and fat, because otherwise it’s difficult to turn it right-side-out after the sewing process. I broke one of his little feet when I got frustrated while using a tweezers and paintbrush to push them right-side-out. I used a needle and green thread and "crazy stitched" it up. Crazy stitch is exactly what it sounds like. 

Boom! An almost complete alligator. Right now he doesn't have a lower jaw, much like the narrator in the book Invisible Monsters, which, incidentally, I just finished reading for a book club. The cool points just keep on a-comin'! 

As you may recall, I had sewed it together before adding the lower jaw. Again, I utilized the crazy stitch to sew the lower jaw piece on and I just tried to not sew through the top of his head. When I was younger I wanted to be a brain surgeon for a brief period. It's probably good that I went with a different career path. 
I love pose-ability in softies, so as I was stuffing, I added two pipe cleaner "axles" to each pair of legs, front and back. Maybe he'll dance after all! 
When stuffing a softie, stuff until you think it's done, then stuff more before closing it up. So, remember that hole between the tail and the lower body? I stuffed through there and then closed it up with--you guessed it--the crazy stitch. 
Alligator? Crocodile? No, alligator! 
Maybe it's Softie Emily's new pet? I don't know. She doesn't seem very pleased...
Or is he this Tiger Shark's new friend? Spending carefree days out in the Smith-Corona Sea.  
BEST FRIENDS FOREVERRRR!!! 
This picture really cracks me up!
FIN! (Get it?!) 


Wednesday, February 6, 2013

My Felty Roots


You may have noticed that the last few posts have had little to nothing to do with felt, despite the title of this blog and the associated unincorporated business entity: Felt Up Goods. I’m loving all the sewing I’ve been doing. Making clothes is a revelation, and following my first pattern was a great challenge. 

Last night during a friendly craft night, I decided to get back to my roots with some needlefelting. Needlefelting involves using a special needle tool to turn raw wool into either designs that are fused onto regular felt, or it can be needled into a 3D creation all on its own. I mostly use needlefelting to add details to a softie, like eyes on a little owl. I don’t often make completely needlefelted creations, so I thought I’d give it a shot, because I haven’t tried in a really long time.

For this type of needlefelting, you need raw wool, a needlefelting tool and this brush thing to on which to do the actual work of needlefelting. When you’re needlefelting, what you’re doing is stabbing. Stab, stab, stab! You stab at the wool until its fibers break apart and fuse together to make a strong formation that you further shape with the needle. It can be very relaxing to do all that tiny stabbing (until you stab your finger, because the needles on a needlefelting tool have tiny barbs on them). You have to constantly turn and move the creation off the brush, lest you end up felting it into the bristles.    
First I tried to make a little piece of bacon (above, bottom). It’s really hard to tame all the little loose hairs coming out of the wool. The little felted animals I see on Etsy seem so refined and smooth, and I don’t understand how they do that. More stabbing? Generally better craftsmanship? Razoring off the excess hairs? I have no clue. 

I ripped off some pieces of a tannish ball of roving wool, and stabbed and stabbed, felting it into a starfish shape. 


I stabbed endlessly, trying to smooth out its little arms, and I kept adding more layers of felt to build up his little body and strengthen his arms.

Then I felted on a little face.
But that big smile made him look like a drunk creepster starfish. It wouldn’t do. I felted right over that smile and gave him a smaller mouth, still happy, less creepy.

But before fixing his little face, I gave him a purpose in life: love.
Stabby stab stab!
 See how I stab? 

I love the look of these colorful, cozy knots of wool. They’re a super soft coral reef where he spends his days, scuttling along the spongy peeks and precipices, offering his heart to a deserving fellow felt fetishist.    

When crafting buddy Sam saw this, she said, "He's wearing a glove!" 
Starfish Heart Bacon! 
 This starfish is a hopeless romantic. Just don’t call him a Valentine. 

Destroying my gangsta street cred one soft sculpture at a time.

Tuesday, January 29, 2013

Fancy Pillowcase Tutorial by the Remnant Bin Queen

Lately when I've been making my trips to JoAnn's, I've become obsessed with rifling through the remnant bins. Recently there was a half-off remnant sale, and I went crazy! Instead of thinking of myself as a crazy bag lady clutching many multicolored scraps of fabric, I fancy myself a Remnant Bin Queen, the benevolent ruler over these lost fabric souls! Recently I found a remnant in a nice blue and white floral-ish design  that seemed to vaguely match my color scheme for my craft room. I decided it would be perfect for my craft room's mismatched-but-color-coordinating throw pillows, which is a design aspect recommended in the "creative" color scheme paint pamphlet. 

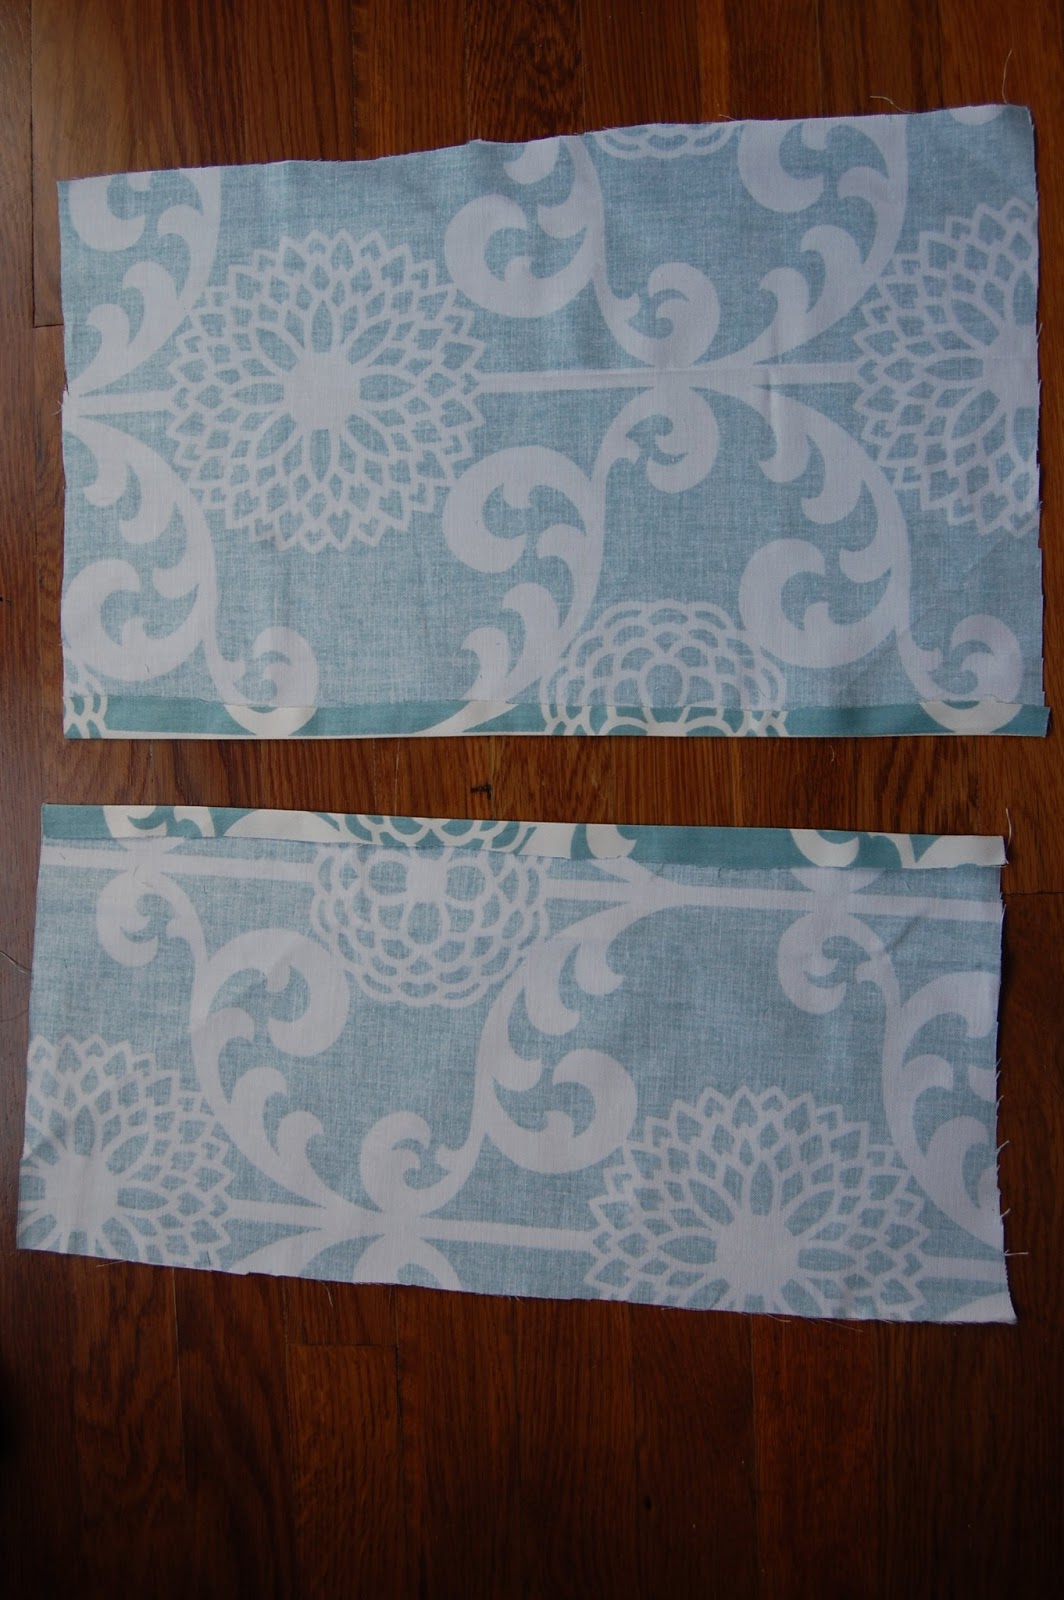
I've made several simple pillowcases with one front piece and two overlapping back pieces, but I wanted this one to be a little different. I had extra fabric, so I figured I would add some design or texture element to the front. I started out in the usual fashion, with my three pieces: the front, and two overlapping back strips. I sewed in the edges on the back two pieces, like so.  

I decided to do a twisty piece on the front, like a big piece of farfalle pasta. I cut a strip that was almost as wide as the front piece, and several inches longer. I sewed the edges of that long piece so there weren't raw edges. I centered the longer piece on top of the front square piece and folded one edge over it, with both front faces up. Here is the front and back view.

Then I ironed everything. I took that long piece and twisted it twice, so that it made a farfalle (butterfly) shape with both wings having the right face out, and arranged it so there was no back part showing. I sewed the other edge over the front square to secure it. 
I wanted there to be a little piece in the middle of the butterfly, securing it, or giving it the illusion of security anyway. I made a little piece and sewed the edges, and then I lifted the butterfly off of the front piece and sewed it into place with two small folds on the band. You can kind of see how I did it here. 
Now it was time to sew the back pieces on. I made sure the right facing sides were together and sewed them on. One thing I've noticed about my pillows is that I make the corners too pointy, so I tried to soften them in this instance, and I even cut little notches into them because that's supposed to make curves not appear rumpled. I also used pins to pin the back pieces into place, which would make my mother proud (not pictured...). 
Notches, bitches. 
Alright, so I pinned, notched, twisted and sewed. Now I have a pillowcase that's a step above the other ones I've made. Boom!  

Just look at that light dappled pillow. It is beautiful. Here it is with its friends! 
Now doesn't that IKEA sofa bed pillow spread just look...fit for a Queen!
YES!  


Monday, January 28, 2013

Thrift Score Makeover

Last week a coworker turned me on to this amazing site: refashionista.net 
It's a lady who can turn even the most mindbogglingly misshapen and awkward thrift store finds into amazing, wearable clothes. I love it! I was inspired to do my own refashioning, so I hit Loaves & Fishes and found some dresses that were just begging for it. 

Like this one. 
I love the green and the multicolored graph paper design and the ruffled neckline, but the floppy bodice, sleeves and length were all pretty terrible. 
It also had ruffles on the ends of the puffy sleeves. The pirate look! My amateur modeling skills have really come out in this photo. This is my "drunken school marm" look. I started by cutting off those godawful pirate sleeves and some length. 

The waist was pretty ill-fitting on me. It was too low to be flattering with that puffy top, so I actually had to take it apart and sew the skirt on a little higher. It was a challenge to keep the elastic waistband intact, so I sewed just above it. I messed up once and created a bubble in the waistline, which I had to rip out with my handy dandy seam ripper and re-sew. 
Next I worked on the arm holes. I cut them even farther in and then sewed the raw edges in once. 
I finished the bottom hem by folding in twice and sewing to make it look nicer. 
And here is the final product! Pretty good job, if I do say so myself! This dress was $5.99, by the way. 
 I went outside with my tripod and took some photos of myself. Eat your hearts out, neighbors! 


For you continuity sticklers out there, I know last time I said that next time we'd find out how that pattern-sewing session with my mom went, but I haven't taken photos of the skirt I made, so that will have to wait. I've also made another pillowcase, for which I may or may not post a tutorial some time soon. No more promises! 

I'll leave you with this amazing pair of shoes I also scored at Loaves & Fishes. I tried them on sort of as a joke with myself  like, "Wow, look at these weird shoes! I'll try them on, just for kicks." They were the only shoes there that fit my big freaky feet, and I had a total Sword in the Stone moment with them. I didn't choose these polka dot kitten heel masterpieces; they chose me
These shoes needed me as much as I needed them. 


Monday, January 21, 2013

Shirt Sewing Success


This year, instead of listing a small but manageable crop of resolutions for the new year, I’ve been scrawling a random assortment of goals and things to remember this year in my journal. The running list consists of such lofty and specific goals as “read more,” and “be kinder.” Somewhere on the margins I scratched “get better at sewing,” and I thought a good way to do that would be making myself some more clothes. 

Now I've done some sloppy-chic clothes sewing projects in the past, but I wanted to refine my technique. This year, I decided, I’d learn to use patterns, starting with a new pencil skirt for the office! I went with the Simplicity brand patterns, thinking (as I’m sure the Simplicity marketing team intended) that these patterns would be very easy. Turns out, it’s like that Minute rice that takes much longer than a minute to cook. I picked out a nice brown crackle pattern fabric, grabbed the various accoutrements (zipper, hook and eye, measuring tape, dressmaker’s pencil!), and as I was heading to the cutting table, a sheer, black and white remnant caught my eye so I grabbed that as well, as it was only $4.

I got home and excitedly ripped open my pattern. It was complete gobbledy gook. I abandoned it and made a flowy, forgiving top from my remnant instead. I looked on the internet for ideas and much in the way I would do if I was cooking a new dish, I took some tips and inspiration from all corners of the world wide web.

First I folded my fabric in half and pulled the front up a bit, because I wanted the shirt to be longer in the back than front. 
This is a sideways picture of the folded fabric. So the fold is the top, where the neck hole goes. I cut out a neckline that came down a little in the back and a little more in the front. Going down from the top two corners, I made a mark where the arm holes went and then sewed in about four inches at that point, and then turned 90 degrees to go down the rest of the shirt. I cut out the excess fabric, leaving me with kind of a misshapen T. I tried it on and took it in a few times until I achieved the most flattering level of flowiness.

Next, I folded up each sleeve once to make about a one inch cuff and sewed it in place. 
 Then I finished the edge along the neckline. 
Remember that longer back part we talked about earlier? We'll call that the "tail." Next I trimmed my tail to be nice and rounded. Achieving symmetry was a challenge. I then finished that edge as well. In this case by "finish," I mean I folded in a tiny bit and sewed, though I later realized if I folded inward twice, the frayed edge would be totally hidden--something to keep in mind for future projects.   
The last thing I did was put on my shirt and force my boyfriend to take a series of photos of me modeling my shirt. He was a real sport. 
 I like to wear it as an off-the-shoulder number. People go crazy for these creamy white shoulders. 
 Here is a side view. Check out that tail.  

This shirt rules because it's cute and mod looking, and I could eat several cheeseburgers and tons of beer while wearing it and not feel constricted or uncomfortable. I call that sewing success!   

The long and short of it is that this shirt will turn you into a motherfucking  kumquat goddess. 
 Stay tuned for the next installment of my sewing adventure, during which I get help from my mommy and learn how to use my pencil skirt pattern!