Showing posts with label pillowcase. Show all posts

Tuesday, January 29, 2013

Fancy Pillowcase Tutorial by the Remnant Bin Queen

Lately when I've been making my trips to JoAnn's, I've become obsessed with rifling through the remnant bins. Recently there was a half-off remnant sale, and I went crazy! Instead of thinking of myself as a crazy bag lady clutching many multicolored scraps of fabric, I fancy myself a Remnant Bin Queen, the benevolent ruler over these lost fabric souls! Recently I found a remnant in a nice blue and white floral-ish design  that seemed to vaguely match my color scheme for my craft room. I decided it would be perfect for my craft room's mismatched-but-color-coordinating throw pillows, which is a design aspect recommended in the "creative" color scheme paint pamphlet. 

I've made several simple pillowcases with one front piece and two overlapping back pieces, but I wanted this one to be a little different. I had extra fabric, so I figured I would add some design or texture element to the front. I started out in the usual fashion, with my three pieces: the front, and two overlapping back strips. I sewed in the edges on the back two pieces, like so.  
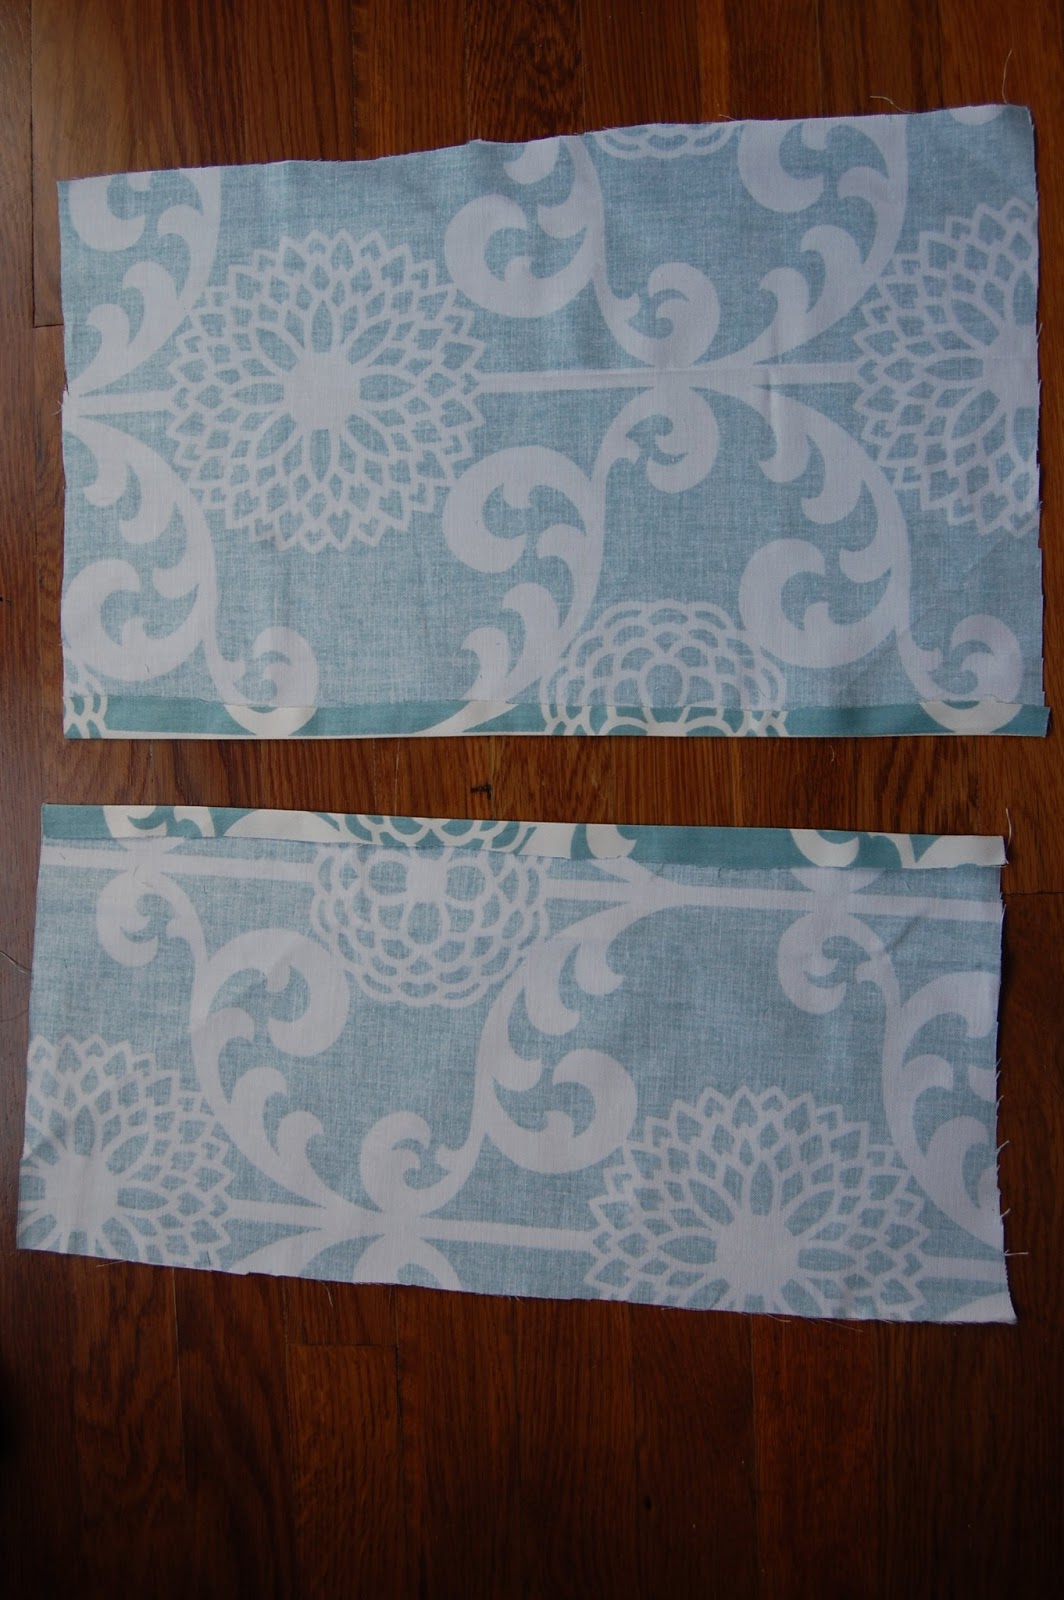
I decided to do a twisty piece on the front, like a big piece of farfalle pasta. I cut a strip that was almost as wide as the front piece, and several inches longer. I sewed the edges of that long piece so there weren't raw edges. I centered the longer piece on top of the front square piece and folded one edge over it, with both front faces up. Here is the front and back view.

Then I ironed everything. I took that long piece and twisted it twice, so that it made a farfalle (butterfly) shape with both wings having the right face out, and arranged it so there was no back part showing. I sewed the other edge over the front square to secure it. 
I wanted there to be a little piece in the middle of the butterfly, securing it, or giving it the illusion of security anyway. I made a little piece and sewed the edges, and then I lifted the butterfly off of the front piece and sewed it into place with two small folds on the band. You can kind of see how I did it here. 
Now it was time to sew the back pieces on. I made sure the right facing sides were together and sewed them on. One thing I've noticed about my pillows is that I make the corners too pointy, so I tried to soften them in this instance, and I even cut little notches into them because that's supposed to make curves not appear rumpled. I also used pins to pin the back pieces into place, which would make my mother proud (not pictured...). 
Notches, bitches. 
Alright, so I pinned, notched, twisted and sewed. Now I have a pillowcase that's a step above the other ones I've made. Boom!  

Just look at that light dappled pillow. It is beautiful. Here it is with its friends! 
Now doesn't that IKEA sofa bed pillow spread just look...fit for a Queen!
YES!  


Tuesday, April 17, 2012

Easy Peasy Projects: A Pillow Case & Also A Thrift Store Scarf Shirt


I had a busy weekend for simple craft projects. It started out with me scanning the living room and noticing a visual atrocity that has long made its home on the couch. It was a large, square, zebra print pillow, which was acquired at a time in my life when I considered hot pink, lime green and all animal prints to be necessary fashion staples because they “go with anything.” (The jury’s still out on why I have not yet been featured on the Sartorialist for my preternaturally amazing sense of design and color.)

I decided to make a pillowcase for it from the navy blue fabric I once purchased to make curtains, which I never made (yet!). At first I thought I’d make a slip pillowcase by simply stitching together two blue squares with one open end, but I realized that would leave one edge of ghastly zebra print peeking out, so I decided to make the slightly more complicated kind.

I started by cutting a square for the front using the pillow as an outline. Then I cut two more pieces that were the same height as the initial square, but each a little longer than half of the square, so as to create two overlapping pieces that would form the slit through which the pillow could be stuffed. Make sense? Yes.

I hemmed the edges of the two smaller pieces, then sewed one (with the inside facing out) to the square piece. If you want a particular one of the smaller pieces to be on the outside, remember to sew that one to the square piece first, because when you turn it right-side-out, that one will be on the outside.

Next I simply sewed the sides of the other small piece to the square, overlapping the other small piece, and voila! A pillowcase!

I actually overestimated the size, so I made one edge a little smaller after taking Ol’ Stripey for a pillowcase test drive. Now it’s nice and snug in its new fashion forward casing.

Additionally, I made a shirt. A while ago, I saw this link on Reddit: http://www.starsforstreetlights.com/2012/03/diy-how-to-make-scarf-shirt.html It’s a blog post about a girl who made a shirt by darting together two square scarves from thrift stores. I thought it looked comfy and awesome and set out to make one for myself.

After scouring some thrift stores, I found several nice square scarves, but no solid colored scarves, so I decided to buy a yard of poly-satin fabric to be the back of my scarf shirts. This one is actually the third one I've made. The first was a cotton scarf, which was a little rigid. The flowy, satiny ones drape better on the body.

To start out, simply cut a square of the poly-satin slightly larger than the scarf you’re using. Then, hem up the edges of the poly-satin. I only hemmed three edges on this one because I’m a bit of a lazy crafter and I figure the bottom will always be tucked into a high-waisted skirt.

Next, place the poly-satin on top of the scarf, inside-out style, so the seam edges and the back of the scarf are facing out. On the top part, where you want your head to stick out, make a dart, or a small stitch at the very corner ends, and then also a few inches in from there on both sides. I went back and forth over each stitch a few times.

Turn it right-side-out and drape over yourself to get a feel for how you’ll wear it on your shoulders. Is the head hole too wide? Are you going to be wearing it off the shoulder? Adjust to your liking if necessary. Personally, I really like wearing these off the shoulder. Also, get a feel for where the arm hole should end. Hold or mark that place, then take it off, turn it inside out again, and stitch from the spot where you decided the arm hole should end down the side. You can stitch all the way to the bottom, or stop a little from the bottom.

At this point, you’re probably thinking, “This isn’t a shirt! Why, this is just two squares of fabric that have been tenuously connected and now you expect me to drape them over myself like some boho peasant potato sack?” Well, yes, but probably with a high-waisted skirt or shorts. (Maybe there are other ways to wear it. I don’t know. I tried rocking it with a belt and jeggings and it really wasn’t happening for me.)

Again, I know what you're thinking and, yes, I did take several weeks of modeling classes in Gulf Breeze when I was in grade school! Thanks for everything, Mary Lou's Models!