Lately when I've been making my trips to JoAnn's, I've become obsessed with rifling through the remnant bins. Recently there was a half-off remnant sale, and I went crazy! Instead of thinking of myself as a crazy bag lady clutching many multicolored scraps of fabric, I fancy myself a Remnant Bin Queen, the benevolent ruler over these lost fabric souls! Recently I found a remnant in a nice blue and white floral-ish design that seemed to vaguely match my color scheme for my craft room. I decided it would be perfect for my craft room's mismatched-but-color-coordinating throw pillows, which is a design aspect recommended in the "creative" color scheme paint pamphlet.
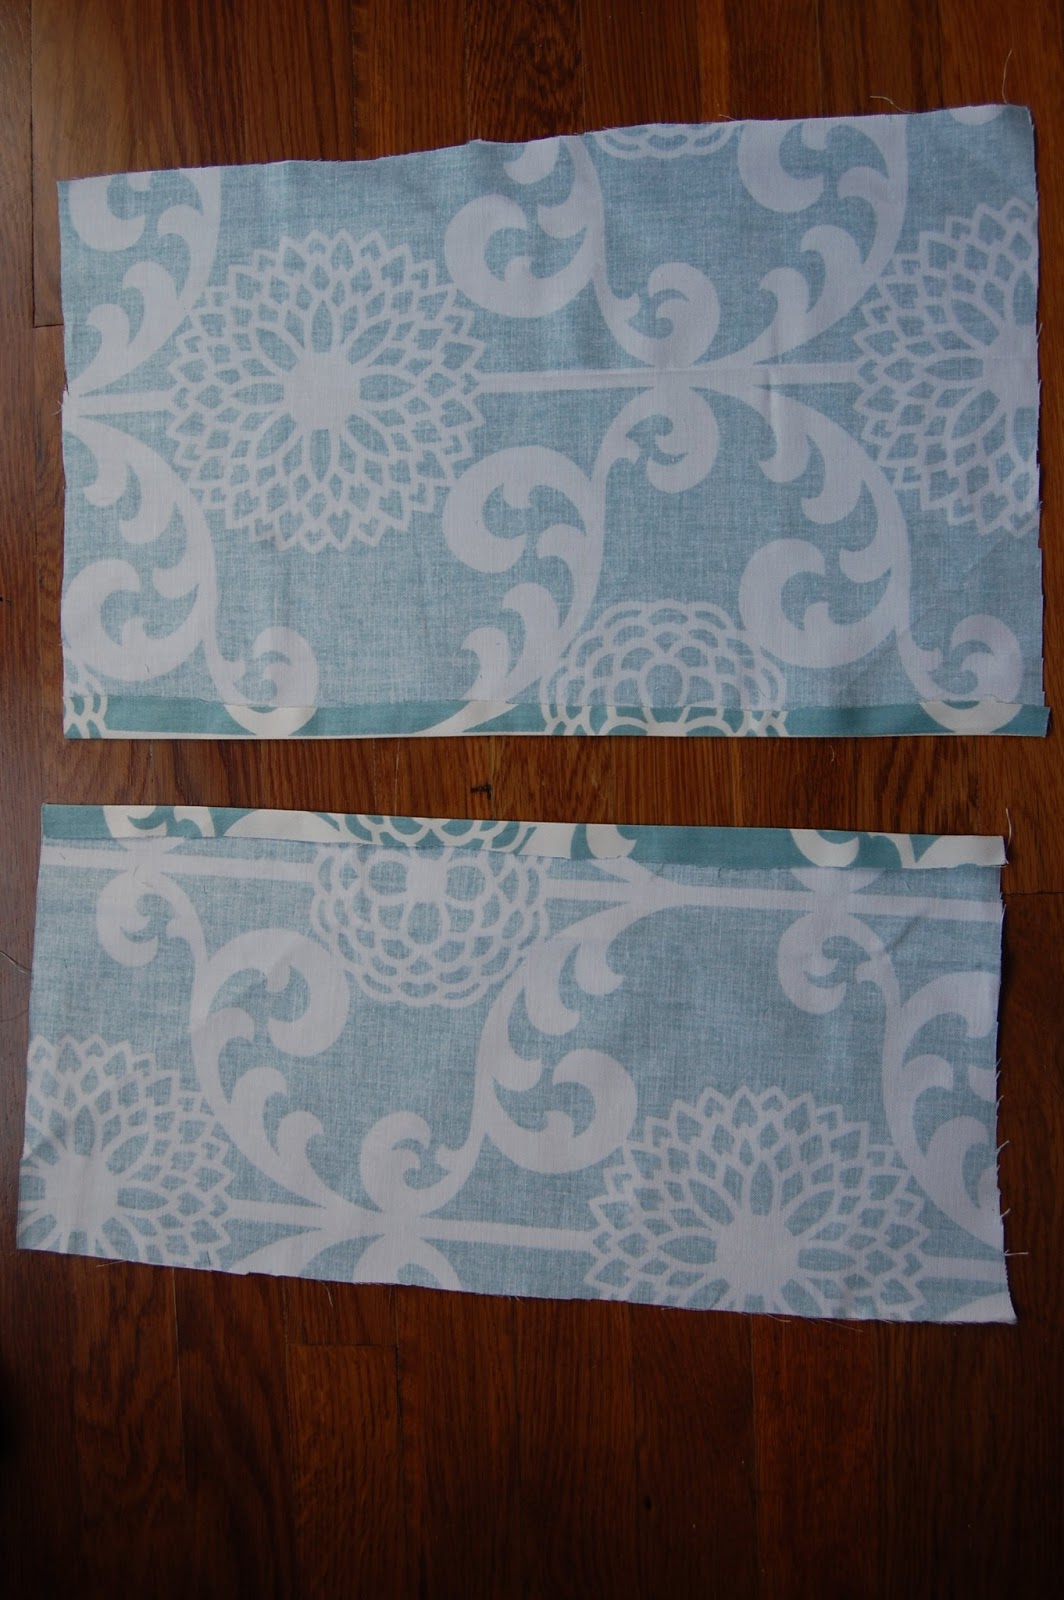
I've made several simple pillowcases with one front piece and two overlapping back pieces, but I wanted this one to be a little different. I had extra fabric, so I figured I would add some design or texture element to the front. I started out in the usual fashion, with my three pieces: the front, and two overlapping back strips. I sewed in the edges on the back two pieces, like so.
I decided to do a twisty piece on the front, like a big piece of farfalle pasta. I cut a strip that was almost as wide as the front piece, and several inches longer. I sewed the edges of that long piece so there weren't raw edges. I centered the longer piece on top of the front square piece and folded one edge over it, with both front faces up. Here is the front and back view.


Then I ironed everything. I took that long piece and twisted it twice, so that it made a farfalle (butterfly) shape with both wings having the right face out, and arranged it so there was no back part showing. I sewed the other edge over the front square to secure it.

I wanted there to be a little piece in the middle of the butterfly, securing it, or giving it the illusion of security anyway. I made a little piece and sewed the edges, and then I lifted the butterfly off of the front piece and sewed it into place with two small folds on the band. You can kind of see how I did it here.

Now it was time to sew the back pieces on. I made sure the right facing sides were together and sewed them on. One thing I've noticed about my pillows is that I make the corners too pointy, so I tried to soften them in this instance, and I even cut little notches into them because that's supposed to make curves not appear rumpled. I also used pins to pin the back pieces into place, which would make my mother proud (not pictured...).
 |
| Notches, bitches. |
Alright, so I pinned, notched, twisted and sewed. Now I have a pillowcase that's a step above the other ones I've made. Boom!

Just look at that light dappled pillow. It is beautiful. Here it is with its friends!

Now doesn't that IKEA sofa bed pillow spread just look...fit for a Queen!
YES!

No comments:
Post a Comment