Showing posts with label sew. Show all posts

Sunday, July 28, 2013

Your Mama the Llama

I'm going to Peru in a week so I've got mountains, Machu Picchu, delicious cuy and practicing mi Espanol on my mind. I wanted to try creating a softie that uses a blanket stitch all the way around it so I chose the llama as my design for its simple shape and Andean ancestry. Also as a child I read that book "Is Your Mama a Llama?" a lot and I feel a special connection with these graceful beasts as my mother is in fact a llama.
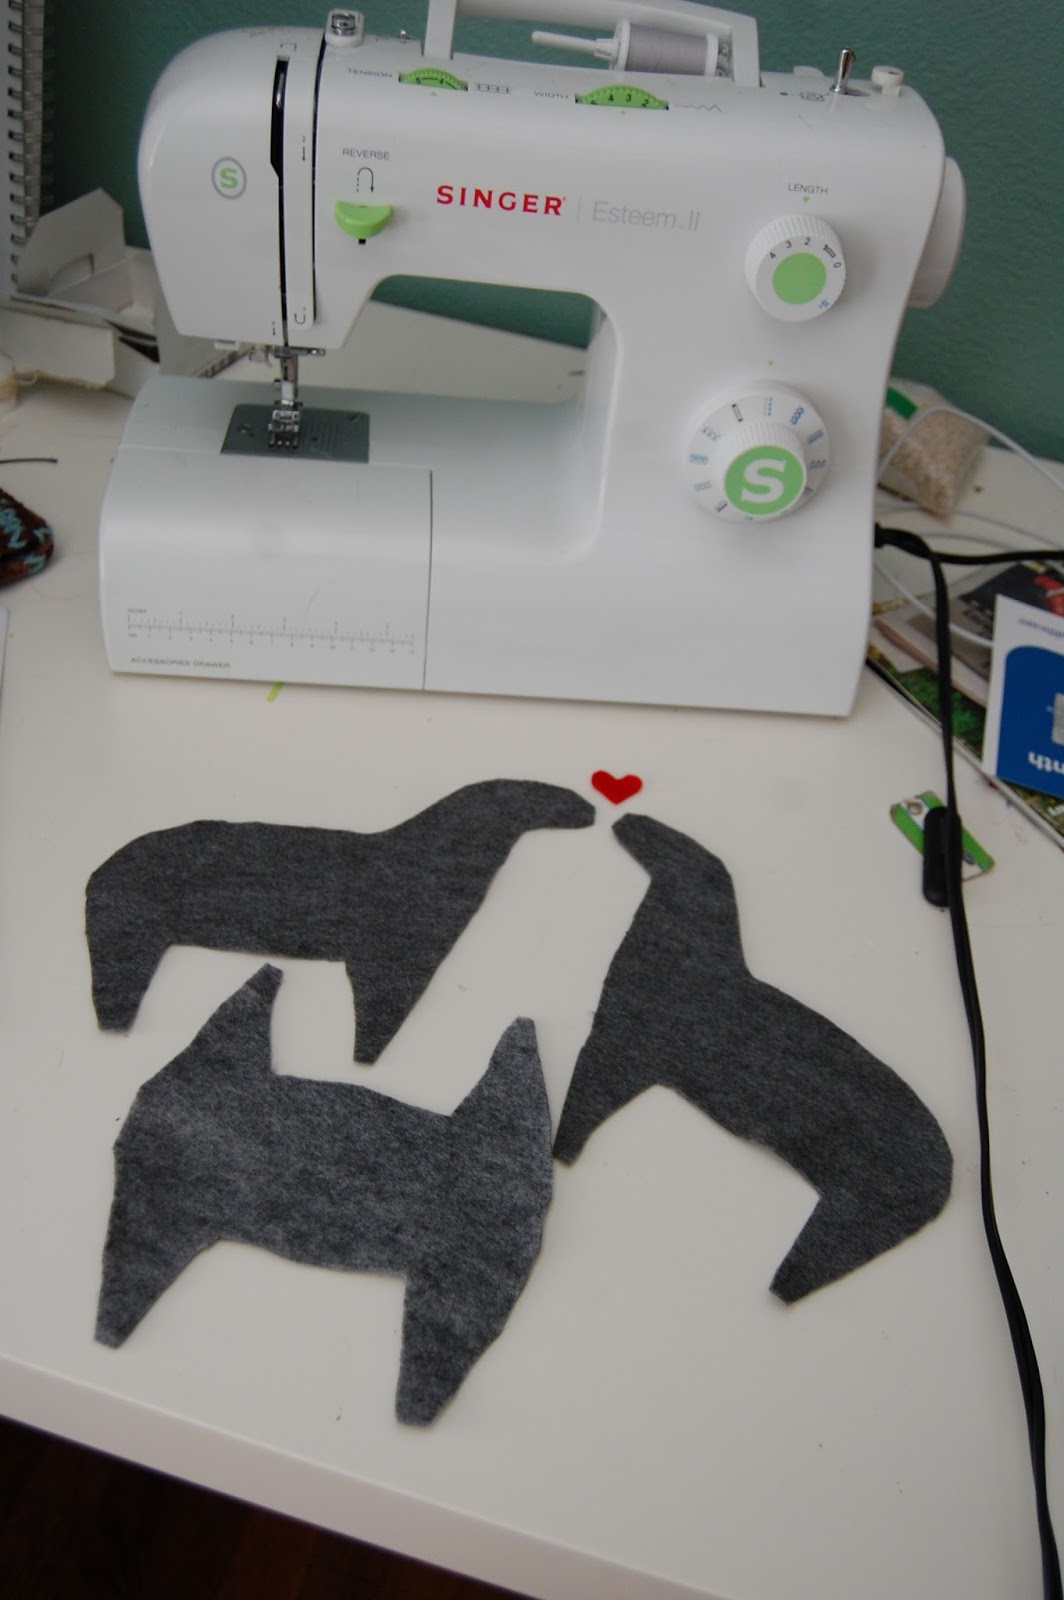

First I cut out two llama shapes, and then an underbody shape so that it would have four distinct legs. I have no pattern so I just folded a piece of felt between the legs and cut to make the underbody and it ended up seeming too fat.


I just folded it in half again and sewed a line down the middle to thin it down a bit. 


Next I stitched an eye and nostril on each side of the llama faces. I did a quick practice of my blanket stitch on a scrap piece of felt. For the ears I cut out two roundish diamond ear shapes, folded them in half, and put a small gray stitch to hold them in place. 


Next I started stitching around. I just cut that heart out initially to make the shapes photo cuter, but I ended up liking the way it looked with the gray so I stitched it on his sweet little haunch! 


I stitched and stuffed as I went because I wanted the legs to be nice and full to help him stand up. I'm calling him Blanket after the stitch used and the child of the late Michael Jackson. 

Once completed, my associate Tobi asked if it was a donkey. 


Or a Lochness Monster. You be the judge!


The above photo shows how the underbody piece fit in there. It gave Blanket a nice 3D-ness, but his legs splay out a little bit, which gives him that "Lochness Monster" effect we discussed earlier. 

Self awareness.
I will leave you with this thing I learned while researching this article: a llama mating call is called an "orgle," a buzzing gurgle that the male llama or alpaca makes when he becomes aroused until he finishes the act. Hot. 

Monday, January 28, 2013

Thrift Score Makeover

Last week a coworker turned me on to this amazing site: refashionista.net 
It's a lady who can turn even the most mindbogglingly misshapen and awkward thrift store finds into amazing, wearable clothes. I love it! I was inspired to do my own refashioning, so I hit Loaves & Fishes and found some dresses that were just begging for it. 

Like this one. 
I love the green and the multicolored graph paper design and the ruffled neckline, but the floppy bodice, sleeves and length were all pretty terrible. 
It also had ruffles on the ends of the puffy sleeves. The pirate look! My amateur modeling skills have really come out in this photo. This is my "drunken school marm" look. I started by cutting off those godawful pirate sleeves and some length. 

The waist was pretty ill-fitting on me. It was too low to be flattering with that puffy top, so I actually had to take it apart and sew the skirt on a little higher. It was a challenge to keep the elastic waistband intact, so I sewed just above it. I messed up once and created a bubble in the waistline, which I had to rip out with my handy dandy seam ripper and re-sew. 
Next I worked on the arm holes. I cut them even farther in and then sewed the raw edges in once. 
I finished the bottom hem by folding in twice and sewing to make it look nicer. 
And here is the final product! Pretty good job, if I do say so myself! This dress was $5.99, by the way. 
 I went outside with my tripod and took some photos of myself. Eat your hearts out, neighbors! 


For you continuity sticklers out there, I know last time I said that next time we'd find out how that pattern-sewing session with my mom went, but I haven't taken photos of the skirt I made, so that will have to wait. I've also made another pillowcase, for which I may or may not post a tutorial some time soon. No more promises! 

I'll leave you with this amazing pair of shoes I also scored at Loaves & Fishes. I tried them on sort of as a joke with myself  like, "Wow, look at these weird shoes! I'll try them on, just for kicks." They were the only shoes there that fit my big freaky feet, and I had a total Sword in the Stone moment with them. I didn't choose these polka dot kitten heel masterpieces; they chose me
These shoes needed me as much as I needed them. 


Monday, January 21, 2013

Shirt Sewing Success


This year, instead of listing a small but manageable crop of resolutions for the new year, I’ve been scrawling a random assortment of goals and things to remember this year in my journal. The running list consists of such lofty and specific goals as “read more,” and “be kinder.” Somewhere on the margins I scratched “get better at sewing,” and I thought a good way to do that would be making myself some more clothes. 

Now I've done some sloppy-chic clothes sewing projects in the past, but I wanted to refine my technique. This year, I decided, I’d learn to use patterns, starting with a new pencil skirt for the office! I went with the Simplicity brand patterns, thinking (as I’m sure the Simplicity marketing team intended) that these patterns would be very easy. Turns out, it’s like that Minute rice that takes much longer than a minute to cook. I picked out a nice brown crackle pattern fabric, grabbed the various accoutrements (zipper, hook and eye, measuring tape, dressmaker’s pencil!), and as I was heading to the cutting table, a sheer, black and white remnant caught my eye so I grabbed that as well, as it was only $4.

I got home and excitedly ripped open my pattern. It was complete gobbledy gook. I abandoned it and made a flowy, forgiving top from my remnant instead. I looked on the internet for ideas and much in the way I would do if I was cooking a new dish, I took some tips and inspiration from all corners of the world wide web.

First I folded my fabric in half and pulled the front up a bit, because I wanted the shirt to be longer in the back than front. 
This is a sideways picture of the folded fabric. So the fold is the top, where the neck hole goes. I cut out a neckline that came down a little in the back and a little more in the front. Going down from the top two corners, I made a mark where the arm holes went and then sewed in about four inches at that point, and then turned 90 degrees to go down the rest of the shirt. I cut out the excess fabric, leaving me with kind of a misshapen T. I tried it on and took it in a few times until I achieved the most flattering level of flowiness.

Next, I folded up each sleeve once to make about a one inch cuff and sewed it in place. 
 Then I finished the edge along the neckline. 
Remember that longer back part we talked about earlier? We'll call that the "tail." Next I trimmed my tail to be nice and rounded. Achieving symmetry was a challenge. I then finished that edge as well. In this case by "finish," I mean I folded in a tiny bit and sewed, though I later realized if I folded inward twice, the frayed edge would be totally hidden--something to keep in mind for future projects.   
The last thing I did was put on my shirt and force my boyfriend to take a series of photos of me modeling my shirt. He was a real sport. 
 I like to wear it as an off-the-shoulder number. People go crazy for these creamy white shoulders. 
 Here is a side view. Check out that tail.  

This shirt rules because it's cute and mod looking, and I could eat several cheeseburgers and tons of beer while wearing it and not feel constricted or uncomfortable. I call that sewing success!   

The long and short of it is that this shirt will turn you into a motherfucking  kumquat goddess. 
 Stay tuned for the next installment of my sewing adventure, during which I get help from my mommy and learn how to use my pencil skirt pattern!