Sunday, July 28, 2013

Your Mama the Llama

I'm going to Peru in a week so I've got mountains, Machu Picchu, delicious cuy and practicing mi Espanol on my mind. I wanted to try creating a softie that uses a blanket stitch all the way around it so I chose the llama as my design for its simple shape and Andean ancestry. Also as a child I read that book "Is Your Mama a Llama?" a lot and I feel a special connection with these graceful beasts as my mother is in fact a llama.


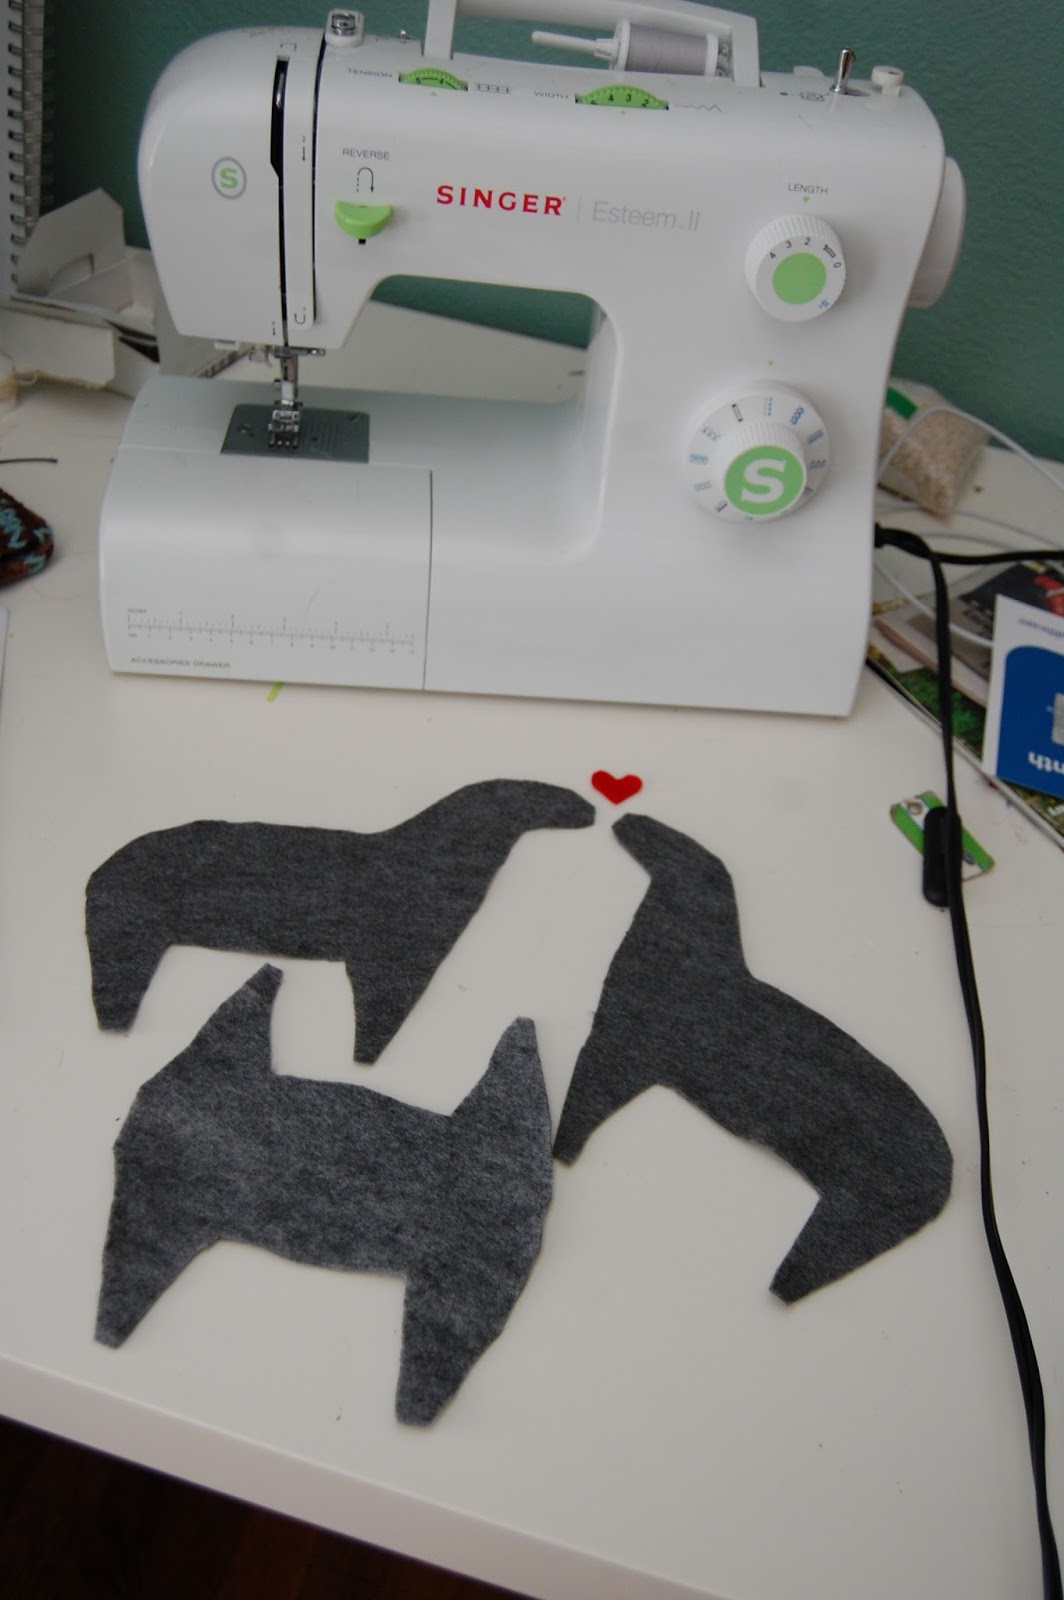
First I cut out two llama shapes, and then an underbody shape so that it would have four distinct legs. I have no pattern so I just folded a piece of felt between the legs and cut to make the underbody and it ended up seeming too fat.


I just folded it in half again and sewed a line down the middle to thin it down a bit. 


Next I stitched an eye and nostril on each side of the llama faces. I did a quick practice of my blanket stitch on a scrap piece of felt. For the ears I cut out two roundish diamond ear shapes, folded them in half, and put a small gray stitch to hold them in place. 


Next I started stitching around. I just cut that heart out initially to make the shapes photo cuter, but I ended up liking the way it looked with the gray so I stitched it on his sweet little haunch! 


I stitched and stuffed as I went because I wanted the legs to be nice and full to help him stand up. I'm calling him Blanket after the stitch used and the child of the late Michael Jackson. 

Once completed, my associate Tobi asked if it was a donkey. 


Or a Lochness Monster. You be the judge!


The above photo shows how the underbody piece fit in there. It gave Blanket a nice 3D-ness, but his legs splay out a little bit, which gives him that "Lochness Monster" effect we discussed earlier. 

Self awareness.
I will leave you with this thing I learned while researching this article: a llama mating call is called an "orgle," a buzzing gurgle that the male llama or alpaca makes when he becomes aroused until he finishes the act. Hot. 

Friday, July 5, 2013

DIY Fourth of July Pt. II

This post marks the 11th post this year--more posts than I've ever posted in one year for the entire multi-year duration of this blog! This is a monumental achievement to be sure, or perhaps it's but a surprisingly consistent exercise in ambivalence and mediocrity--you be the judge! Just kidding, don't judge me!

DIY Fourth of July has come and gone, and I'm making good on my promise of more Fourth of July crafts, however useless they may be on this fifth day of July. You can always bookmark it for next year, like some organized person who plans things a year in advance and then follows through on those plans (a wizard?!).

First off, remember those spray painted jars? I did go ahead and rough them up with sandpaper, to great effect. They looked distressed in a Pinterest-y way, not a distressing way. 

Next I worked on a wreath. I purchased a wooden ring for a Christmas wreath that never got made, so that served as the base. I had a remnant piece of cream canvas which I stained with chicken grease that was perfect for this project, so I cut it into strips and wrapped it around the wooden ring, hot gluing the back as I went along. 

Next I cut out a series of circles in different shades of blue and red, plus cream, and stitched some on top of each other. I hot glued the circles in a kind of overlapping clump on one side of the circle to create a cool mod yet rustic wreath.


Here's a closeup of the circles. 


Additionally, I added to my fake rocket decorations with what I deemed to be a clever idea from Tobi: making a rocket that looked like it had exploded. 


I did this by spray painting a toilet paper tube red, then painting the inside black with a small paintbrush. I made vertical snips into the top with scissors and then curled each tab down to give it that exploded look. Boom! Additionally, I made a huge rocket with an old mailing tube. I spray painted it white and then used red duct tape to attempt a moderately successful chevron pattern on its body. I made a big rocket top from some shiny paper. 


Another simple, classy decor idea is to place little sprays of baby's breath in jars, and colorful straws add some fun to the beverage table. For a nonalcoholic drink, I served water with lime wheels, watermelon chunks and cucumber slices.  


Here's a photo of my sister along with a few of my decor elements in action: triangle flag banners and sparklers!


All in all, this has been another very successful party, and one scientist roughly estimates that my simple, clean and creative decor added 47 percent more festive fun to the atmosphere. This scientist is more of a "scientist of the world" than, like, a research lab scientist. Also, there was no control party to compare with, so you can take this study as you like. Hey, scientific literacy isn't exactly my strong suit--something I share with many of the rest of my fellow Americans. God bless us & happy birthday, USA! 


Tuesday, July 2, 2013

DIY Fourth of July

I’m usually rather underwhelmed by the Fourth of July, but this year I’m feeling pretty patriotic. With the recent demise of DOMA and Prop 8, and Wendy Davis’ heroic—if  symbolic—stand against the Texas legislature’s disingenuous bill that undermines women’s right to choose in that state, I’ve got some topical new reasons to be proud to be an American. Additionally, we’re hosting a family Fourth of July party! Yay! 


There are certainly some challenges to hosting a cool Fourth of July party. For one, I don’t like too much red, white and blue as a color scheme. It’s also easy to foray into cheesy territory with patriotic decor. I wanted a more vintage “Americana” look than a “Yee-haw, America!” theme to my décor. A lot of these decorative crafts can be made by even the novice crafter/party planner and they have exponential atmosphere-enhancing effects—lots of Fourth of July bang for your crafting buck!   


I started simple. Using scrapbook paper and string, I strung together a bunch of triangle flags in red and white, or blue and white patterns. A hanging decoration of this sort adds a lot of jovial ambiance for a very tiny effort. I made a ton of these. Another simple construction paper background decoration is a set of paper ring chains. 


Next I dug out some white and red spray paint and added color to some of my many small Mason jars. I'll use them for plasticware or straws and whatnot. I might rough these up with some sandpaper to add a little old-timeyness to them. 


I also found an old Christmas basket, which I turned into a Fourth of July basket by painting the green stripe around it white-ish. I put boxes of sparklers in it. That’s a twofer: decorations that double as party favors! 


From there I upped the ante with some toilet paper and paper towel tube rockets. First I spray painted them red. I found some white ribbon and hot glued two pieces wrapping around the longer one. For the other I busted out my stamping supplies and cut out star stamps to decorate the tube. It was moderately successful, but I liked how it turned out looking sponge-painted and a bit rustic. For the tops I cut circles from colored paper, made a slit, folded them into cones and glued them in place. Then I hot glued them to the rocket body. I stuffed the tubes with newspaper and then shoved a bamboo skewer in the center, and I even went so far as to hot glue a little piece of string up there for the faux fuse. Authenticity.   


As you can see, these are very lifelike and pretty cool looking rockets. 


Before you think, “Wow, you really go overboard with the party decorations,” allow me to share with you one of my top rules of party planning: a barren partyscape is a fun desert (As in, there's no fun as far as the eye can see. You might think you see an oasis of fun around the punch bowl, but no, it's a mirage!).  Without some touches of festivity, it’s just a random gathering at your house. Boring! Decorations make it a party. They tell your guests, “Hey, this didn’t happen by accident! You came here to party and I have MADE FOR YOU A PARTY!"  

And there's a lot more where these came from, so rev up your party engine and stay tuned for the next installment of my DIY Fourth of July!